4/7/23 - 7/7/23 Week 1 - Week 16
Low J- Yin / 0352888.
Bachelor of Design in Creative Media / Digital Photography and Imaging
INTRODUCTION
<iframe src="https://drive.google.com/file/d/1TcdhKt5s1FgcNWnBdDKk0eb1vphUDetg/preview" width="640" height="480" allow="autoplay"></iframe>
LECTURES
Week 1:
https://docs.google.com/document/d/17hqjbCjx4gIuwrOJ9k65z-Rw59itettGiNXHn_kaB3Q/edit?usp=sharing
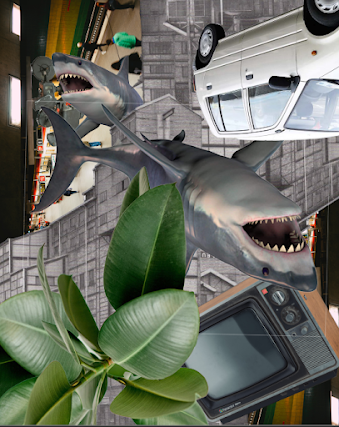
Collage #1
Replace the elements and different sizes of wording in the template. The progress was very fun and I enjoy to see the output, Using the same color theme of monochrome, and only placing a few of the vivid colors, such as blue, maroon, and hot pink to contrast and enhance the template, as the main subject to catch viewers' eyes too.
Collage #2
There is also a lot of sample and reference from the magazine and Pinterest, So I decided to play around with Collage #2. I am trying to use a sofa to make it looks like a phone as acting the woman was listening to phone calls, We can see a lot of sample from the internet that graphic designer plays around with these elements.
Next, I just tried to use my own design to create my own style of design to design the collage, by using
Earth tones and monochrome with some contrast color. The color of the match makes the collage looks balanced and also makes the image more interesting.
Week 2:
For this week, we will need to try to trace and cut certain items into another image.
Exercise 2.2
Unfortunately, I did not save the screenshot from the example that the teacher give us, but I tried to trace and cut using the tool Photoshop by myself to strengthen and memorize what had learned. The teacher taught us how to trace the sofa with the tools from Photoshop.
We will be using Lasso Tool to trace out the outline of the objects and press enter. The object will be cut off from the template. Next, we will need to add to the background. We will need to resize the object to make it more realistic.
Week 3:
Exercise 3.1
For this week's lecture and tutorial, We will need to learn how to recolor the B&W template.
Exercise 3.2
We will need to crop off the color we would like to recolor and paste it on the template for use. By using the quick selection tools to select the hair part. Next crop off the part of the hair.
Step as below:
1. Quick Selection Tool - Crop the hair part - Refine the part - Press Select & Mask - output to the layer
2. Create a new layer - choose solid color - select the color - replace the layer of (hair part) to the new layer
After all of these steps, you could choose the "color" or "soft light" in the box of "layer" do make the hair part more natural and vivid.
Exercise 3.3
After learning the step above, others part should follow the step and do the exercise well.
Week 4:
Focal Point
Composition with good focal point would help to catch viewer’a eyes.
Scale & Hierarchy
Strong drawing attention toward and away from certain elements.
Balance the elements
The weight of the different elements.
White Space
As known as “empty space”.
Rule of Thirds
- The process of dividing the image into thirds, using vertical and horizontal lines.
-The grid yields nice parts with four intersection points.
Golden Ratio
-The mathematical ratio.
-Organic and natural looking compositions
- giving and creating harmony and proportion.
Week 5:
INDEPENDENT LEARNING WEEK
Week 6:
Wide angle: 0.5X/0.6X
Standard Angle: 1X
Tele Angle: 2X
Portrait Mode
Task 6.1
By the developing of the angle, Im using the photo of wide angles and portrait mode to shows the differences.
What is Shutter Speed?
Shutter speed refers to the length of time from camera's shutter remains open.Allowing light to enter and expose.
Week 7:
No lecture. For this week, sir shows us how to digital cyborg demo in to a human body part. Sir had checked on our progress for the final poster design and giving specific feedback to each of us.
Week 8:Public Holiday
Week 9:
No Lecture. For this week, we had learned how to make flower effect into a human face. Sir had continuous checked on our final poster design and give us advises.
Week 10:
Digital Surrealism
Sir had showed us the work from previous student.
Realism
Using the subject matters of the ordinary and common world. Always takes a non-exotic and non-extraordinary subject matter and theme.
Surrealism
-Explores the subconscious mind, with subject matters based on dream-images.
-Defies logic.
Dadaism
-Art movement which is satirical and nonsensical in nature.
Digital Surrealism
-Express about the artist's idea themselves.
TUTORIALS/ EXERCISES
Week 1 Task:
Task #1
At first, I cut off many different pieces from the magazine.
Essential Elements of Collage:
- Arrangement
- Wording
-Space
- Alignment
- Size of Graphic
I had to try different arrangements and graphics to test out the result. It seems even using the same graphic but another arrangement would have a different impression of the views and the use of space is important, the spacing and alignment of the graphic.
Week 2 Task:
For the Week 2 Exercise, We had assigned to crop our self-portraits and place them into the template teacher had given.
We have three different tools to trace out our self-portraits:
1. Lasso
2. Polygonal Lasso
3. Magnetic Lasso
To make it more realistic, we will need to reshape and reduce the noise by the tool from "Filter - Noise - Reduce Noise", After this step, We will need to resize our human body.
To create the shadow and reflection, we will need to re-create a new layer for both.
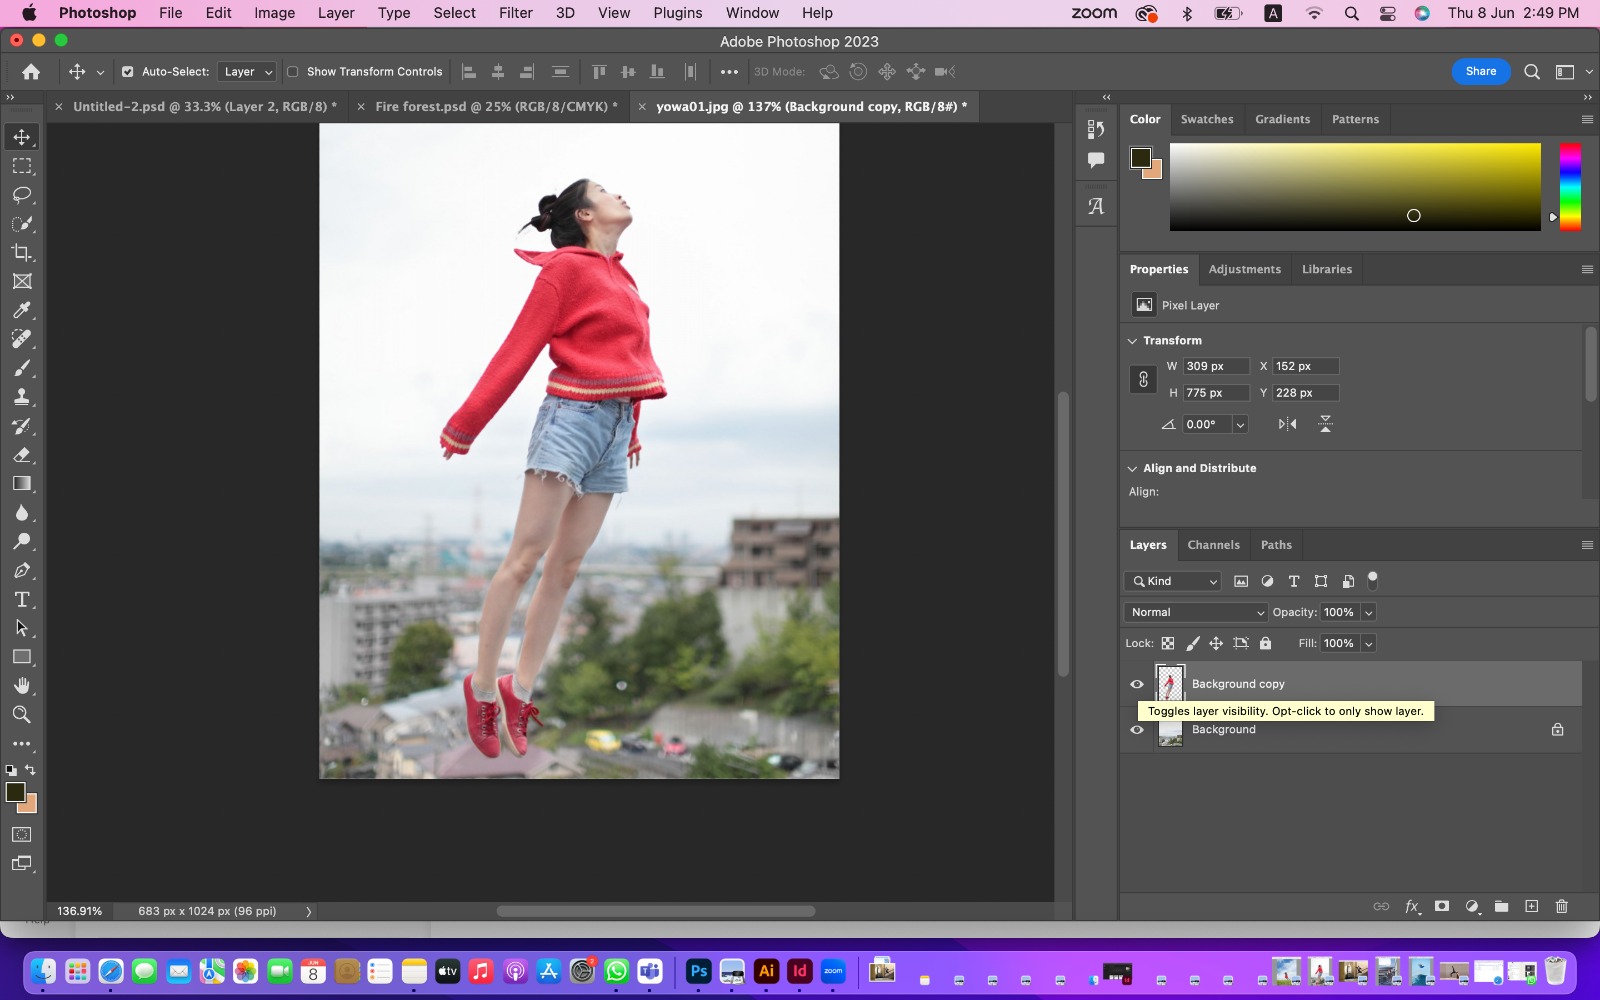
Week 3 Task:
After the lecture and tutorial, We will need to follow the step from the previous lecture and tutorial and make the B&W image colored.
By following the step, I traced out the different parts and try to re-color the image. To me, the hardest part is the skin part. I tried many times to make the skin tone more natural, by adding shadow to make the photo more realistic. The progress took me a lot of time but I enjoy how I learned from the previous mistake and try again with effort.
Week 4 Task :
Task 4
Task 4.1
Task 4.2
Task 4.3
Preparation for Project 2
Research 01:
1a. What is Poster Design?
Poster Design included a lot of elements, such as hierarchy, contrast, colors, balance, shape and form, space, etc.
The typography, graphics, image, and color are the most various elements to focus on for the poster. The arrangement of the elements could have different effects and affect to the perspective's views.
Effective poster design will send the important message of matching the various elements, to process visual communication materials that are used to promote events provide services, and introduce products. Posters could be used for advertising, social media, and entertainment.
1b. What is good poster design?
1. Clear and Concise Message.
2. Visually Attractive: Create a visually appealing design that captures attention.
3. Readability: Ensure your poster is easy to read from a distance.
4. Hierarchy and Organization: Establish a visual hierarchy to guide the viewer's attention.
5. Balance: Distribute the visual elements evenly across the poster to create a sense of balance.
6. White Space: Utilize white space to enhance readability and draw attention to key elements.
7. Imagery and Graphics: Choose relevant and high-quality images or graphics that support your message.
8. Consistent Branding: If the poster is part of a larger branding campaign, maintain consistency in terms of colors, fonts, and overall design elements to reinforce brand identity.
9. Call to Action: Include a clear call to action that tells the viewer what you want them to do or how they can obtain more information. Make it stand out from the rest of the content.
1c. What is a photographic poster? What is an illustrated poster?
A photographic poster present a photography as the main focus point. The main focal point are using image or photo to send a message to the viewers. More likely using visual image to tells story and capture attention to the audience.
A illustrated poster using utilised illustrations or graphic elements as the main focus point. It using graphic, icons or digitally created illustrations to tell a story.
Research 02:
2a. What is Double Exposure?
A technique to combine two different exposure on a single image.
2b. What is Digital Double Exposure?
By involves blending two image together to create a single image. A digital double exposure usually used with film camera where two or more exposures were made on the same frame, to represent in a layered effect.
Week 5 Task:
Double Exposure
- By using two different template of Natural and Human Portrait to create a visual and vivid photoshop edit photo.
1. Take the first photo and rewind the film and take the second photo.
2. Insert both images in one photo.
3.Using Blend Mode and select "lighten" or "Overlay", choose one of the selection which suit.
4.Adjust the contrast, colour balance, hue and saturation to achieve your desired effect.
Week 6 Task:
Shutter Speed/ Lighting
Task 6
By different angle and shutter speed, the photo will create different proportion and perspective views.
Exercise
Task 6.1
Task 6.2
Task 6.3
Week 7 Task:
Task 7
Step:
1.Fill- Colour - To create colour
2.Stamp tool- to copy and paste the choose place.
3.Right Click- Wrap to manage the size.
Week 8 Task:
Public Holiday
Week 9 Task:
Flower Effect
Task 8
Tool/Skills need to use:
1.Pen tool (Path & Shape)
2.Blending Options
3.Colour Grading
4.Blending Modes
1. Make selection to mask off the part and cut.
2. Marquee Tool - Layer via cut
3.Draw a shape as the human shadow part.
4.Select Blending Options - Bevel & Emboss
5.Lasso Tool to cut a part of the face.
6.Add Ivy Brush
7.Repeat same step as 4 to the layer.
Week 10 Task:
Task 9
Edit- fill- content aware to clean up the layer
Task 9.1
Layer Mask - Smart Object to clear up the background
Task 9.2
Timeline - press the yellow button - Transform - drag the yellow button to the last second of the video - Replace the human.
Task 9.3
Select - Modify - Expand to expand the pixels.


.jpeg)
.jpeg)
.jpeg)
.jpeg)


.jpeg)

.jpeg)
.jpeg)


.jpeg)
.jpeg)
.jpeg)

.png)


Comments
Post a Comment